Chapter 2 Start Here
Git verbs in this section
git init, git status, git add, git commit, git checkout, git branch, git merge
This is a great place to start if you have not used git before. At the end of this unit, we will be able to create git repository, check the status of the repository and save changes to git.
2.1 Simple Workflow
When starting a project from scratch, we typically follow the following steps.
- Create a new directory: We will do this using our preferred method of creating a new folder, either command line or through desktop interface. This will be our “working directory” where changes will be tracked.
- Initialize the directory with git: We will have to “tell” git to track this directory. Then git will add some hidden files that does all the work behind the scenes.
- Look at the status of the git repository: Once the tracking is set and then every once in a while, we will want to see the status of the project directory. Saving a file on the computer disk is not same as saving on git. We want to see what files are added into the directory, what have been removed. Also, we want to know what files are already being tracked by git and which ones need to be added for tracking.
- Create files, make changes, save file: This is not git specific but normal things we do like creating a new file, editing the file, and hitting save button.
- Look at the status of the file: Repeat step 3 again
- “Stage” the file to save it with git: Next, we will need stage the file for git to track. By staging the file, we are telling git that this file or sub-directory will need to be tracked
- “Save” the file with a nice message: Once files are staged, then they can be “saved” in git. This save is called “commit”. When we commit changes, we can give a short and informative message that we can later reference back to.
Then we repeat steps 4-7 periodically. We can do this as often as we like and are comfortable wtih. It is a good habit to make periodic commits even before our work is completely finished as it gives us a reference to go back to later.
2.1.1 Exercise Simple workflow
We will follow the following exercise to practice the simple workflow referred above. Here we will also familiarize ourselves with git verbs
Note: There are many many different Git GUI tools and they all look and feel different even though they work the same way. The important aspect here is to understand the verbs (which are also the commands on command line) and being able to use them with the tool of your choice. This guide will explain the concept and hwo to execute them using command line. However, if you want to follow using desktop app, we encourage you to find the appropriate buttons to click that matches with the concept.
Create a new folder on your machine. Right click on the current file explorer and “create new folder”.
>$> mkdir <folder name>Initialize the folder with git. This can be done by choosing the directory with git.
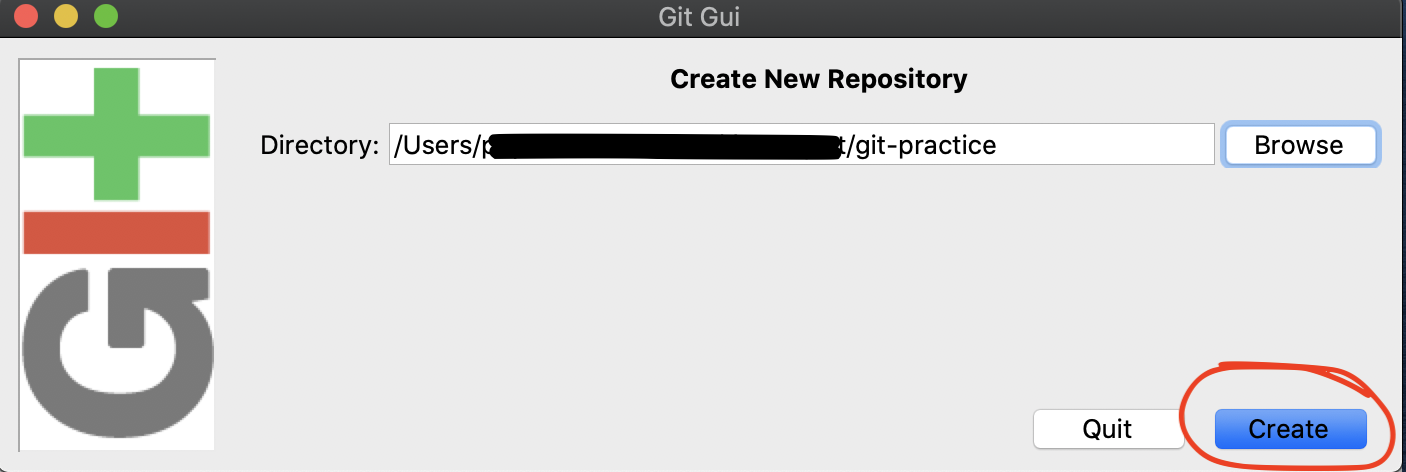
$> git init
- Create a few new files, write something and save them. For now, lets avoid pdf, word or excel and stick with simple text files (txt, md, html, sql, py, etc).
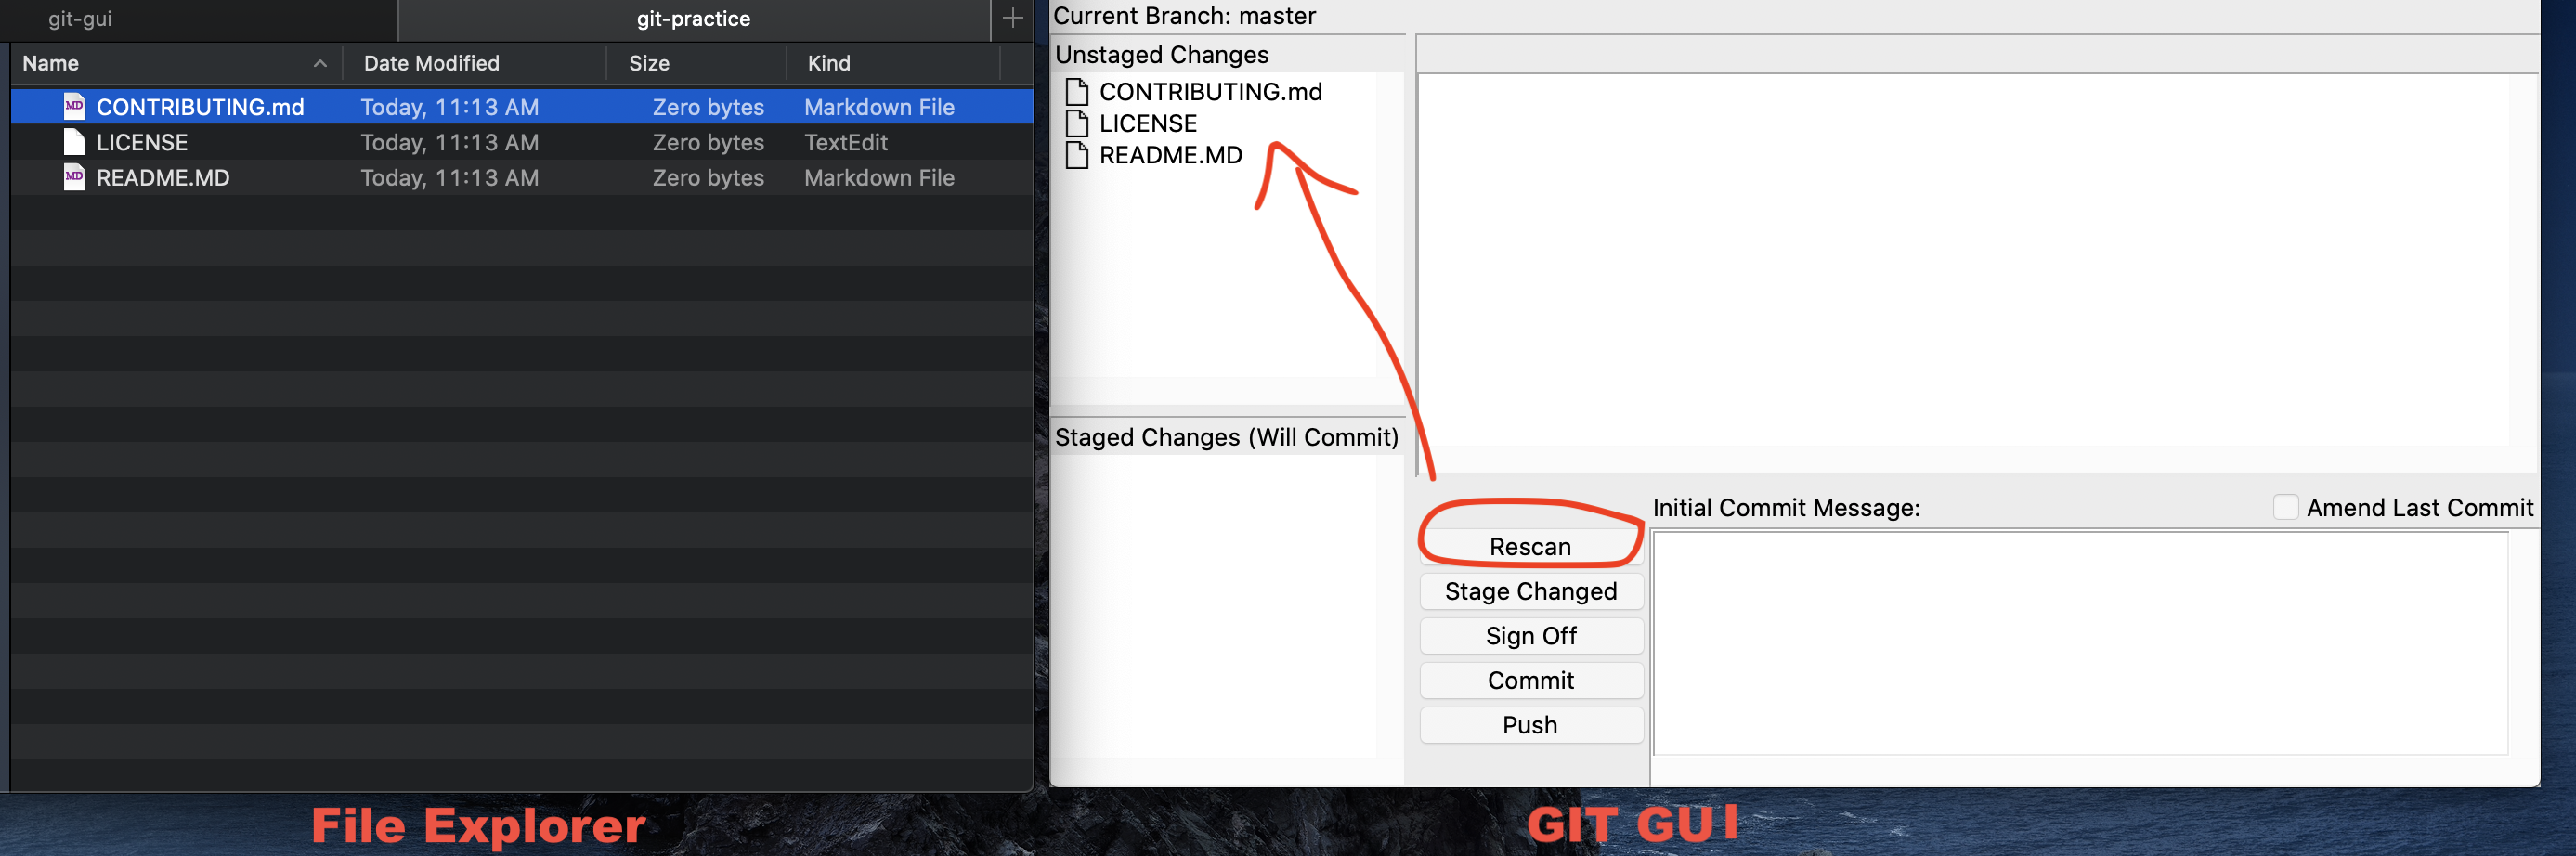 >
> $> touch LICENSE README.MD CONTRIBUTING.md
- Stage new files. Click
Stage Changed
$> git add LICENSE README.MD CONTRIBUTING.mdorgit add .
- Look at the status of the files changed. On GUI, it can be seen by looking at the “Unstaged Changes” and “Staged Changes (will commit)” sections.
$> git status
- If all looks good, Write a commit message eg. “commited to my first git repo” and click commit.
$> git commit -m "commited to my first git
Bonus: Repeat c-f a couple of times, by adding new files, adding and removing lines in some files, and giving different commit messages.
2.2 Branching
Often times, we want to work on a new features or fix bugs but we do not want to change anything that is consumer facing until our new work is changed. For example, you see a typo on a document and want to resolve that. Branching feature of git will allow us to work on that task and test separately from the what is public facing.
By default, when we created our project, we are on master branch which is the only branch at this point. We can create a branch from master (or any of the commits in any existing branch). The steps are as follows:
- Create a new branch (from master)
- Move to that branch
Side Note: Later we will branch on remote. We will talk about remote later
Once we start making changes to files and adding commits, our branch will have additional changes. We can then stage our changes and make commits on them.
2.2.1 Exercise Branching
- Create new branch from master branch, call it
my-first-branch
$> git branch my-first-branch
- Switch to that branch. At this point we have to make sure that we have “saved all our useful work” since last commit. Otherwise we will have errors
$> git checkout my-frist-branch
Make changes to the files, stage for commit, and commit [create label to 2.1 here]
Bonus: Repeat c. couple of times
2.3 Merging
Once we are happy with the changes that we made to our branch, and tested the changes we can merge the changes to our default branch. Merging the change to our default branch is a way of creating new version of the consumer facing project.
Side Note: Merging on remote, reducing number of commits
Before merging our newly minted features, we can look at the differences between two branches. Once we are happy with the differences, we can merge the new branch to the default branch and then delete the old branch. Again, the steps are: - Switching to the destination branch (master in this case) - Looking at the differences - Merging the new branch into default branch - Deleting the branch that was merged (to avoid confusion)
2.3.1 Exercise on merging
Switch back to the master branch
>$> git checkout masterLook at the difference between master branch and
my-first-branch>$> git diff master my-first-branchMerge into master
>$> git merge my-first-branchDelete my-frist-branch >
$> git branch -d my-frist-branch
2.4 Conclusion
At this point, we have successfully completed a simple git workflow. At this point, we will be easily be able to have as many version of our work as possible without having to save multiple copies of the same file. The latest copy of our work is what we see. In later chapters, we will talk about how to look at the specific copy of our files.
To recap, we started from an empty repository. Then we initiallized the repository with git. After that, we created a few files, checked the status to see if they were staged or not, and made a commit with descriptive message. We also, created a branch, made changes there and commited those changes. We finally compared two branches to look for differences, meregd changes to default branch and deleted the working branch.